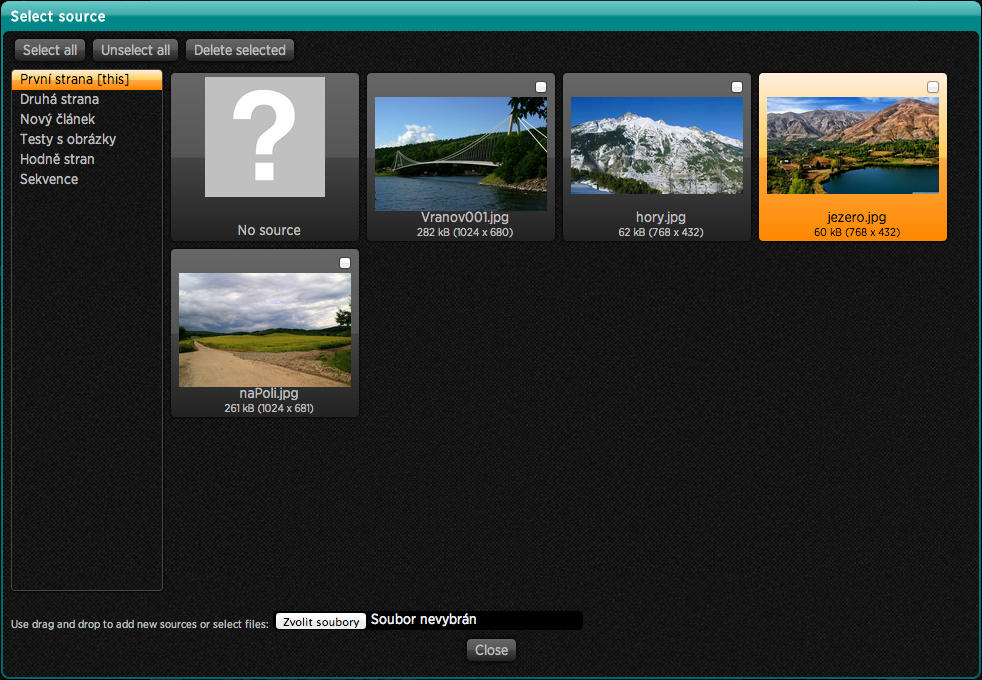
You can insert the image by using ![]() tool, you can also drag or click on the page (viz Object insertion). Click the Source to display the list of available sources and click the image to select it. Additional images can be added by mouse dragging from Explorer (Windows) or Finder (OS X). More images can be inserted simultaneously.
tool, you can also drag or click on the page (viz Object insertion). Click the Source to display the list of available sources and click the image to select it. Additional images can be added by mouse dragging from Explorer (Windows) or Finder (OS X). More images can be inserted simultaneously.

You may mark the check box in the upper right corner. You may also use the Select All button to mark all or Unselect all to cancel the selection. Selected images can be all deleted with the Delete selected button. If the deleted image is used in your publication, do not forget to replace it with another one or delete the respective objects from the page.
On left side of the screen you can switch between articles – i.e. you may also use images from other articles. Please pay close attention to the information on using sources from other articles.

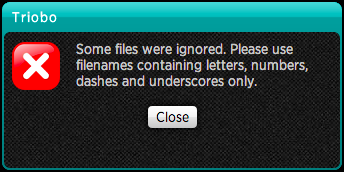
For technical reasons it is not possible to use file names that contain other characters then letters, numbers and hyphen and underscore. These restrictions aply to all sources you upload to Triobo editor (fonts, images, videos…) – system will notify you that file contains forbidden characters.
Please pay attention to the size of image: for your information the file size and image dimensions are displayed under the file name. Dimensions should not exceed the iPad3 resolution , i.e. max 2048 x 2048 pixels. The image size should be as small as possible, especially if there is a lot of them. We recommend the size of about 300 kB in JPEG format, when the quality is still excellent.

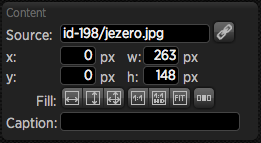
Once you have your image on picture screen, you can double click to open it – you can also make changes of image size, regardless of its frame. Use handles to resize or move the image within the cutout section. In this way you can easily crop images to desired dimensions. If the image frame is open, you can double click it again to go to the source selection dialog.
Orange handles are displayed while image is being edited and same keyboard shortcuts are functional as in setting of ordinary frame: arrow keys cam move the image by 1 pixel (press Alt to move by 8 pixels). By holding down the Shift key the image moves only in one direction, the aspect ratio is maintained with the change.
On the left column you can use buttons to select other image settings:
-
Fill group – determines how the image streches out within its frame.
-
The width (
 ) – streching to the width, the height will be adjusted automatically – image may have blank at the bottom edge or can be cut off if the frame does not have the corresponding size. As long as this option is active the image dimensions are changed according to its frame. You can also move the image against the frame and the size will be adjusted accordingly. Once you use one of the image handles the option Fill in width is deactivated.
 -
The height (
 ) – streching to the height, the width will be adjusted automatically – image may have blank at the right edge or can be cut off if the frame does not have corresponding size. The same rules apply as above: as long as you will not use handless the image size adjusts to its frame size.
 -
Both directions (
 ) – the image spreads out to the width and height but may be deformed when image frame has different aspects ratio from image. Even in this case the seting will last until you chose other size.
-
-
The following three buttons serve for setting of other commonly used values:
-
source size 1:1 (
 ) – image size within the frame will be set according tho the image source i.e. will be displayed exactly at 100% of size
 -
source size 1:1 for mode HD (
 ) – some tablets (eg, iPad3 and iPad4) display twice the resolution, for example the area of 300 x 300 pixels in fact displays at 600 x 600 pixels. Pressing this button, adjusts the image size to the source size so the image works well on tablets with high resolution
 -
source size according to the image (
 ) – image frame will be adjusted according to the size of actual image
-
If no object is selected, the button Position is available at the panel ![]() , which can be used for article setup.
, which can be used for article setup.